Create an operating cost statement
Under Costi operativi you settle the running costs of a property for a period and split them among the tenants. Open the page in the sidebar under Gestione → Costi operativi. The sequence: create the statement, enter cost items, calculate, finalize, send to the tenants.
Prerequisites
- A property in your portfolio.
- At least one tenant for that property whose tenancy overlaps the statement period and who has a lease start date. Each tenant is weighted by the days they actually lived there during the period.
The list
Four tiles count your statements in total and per status. The table shows property, period, status, total costs (not yet for drafts), number of tenants and, for drafts, the button Modifica. Search and the status filter (Bozza, Finalizzato, Inviato) narrow the list. Click a row to open the statement.
From a tenant's page, Prospetti dei costi operativi opens this list filtered to that tenant. If this list has no statement yet, the form for a new statement opens right away with the property and a suggested year. Remove the filter with the cross on the filter tile.
1. Create the statement
Click Nuovo Rendiconto. A window opens.
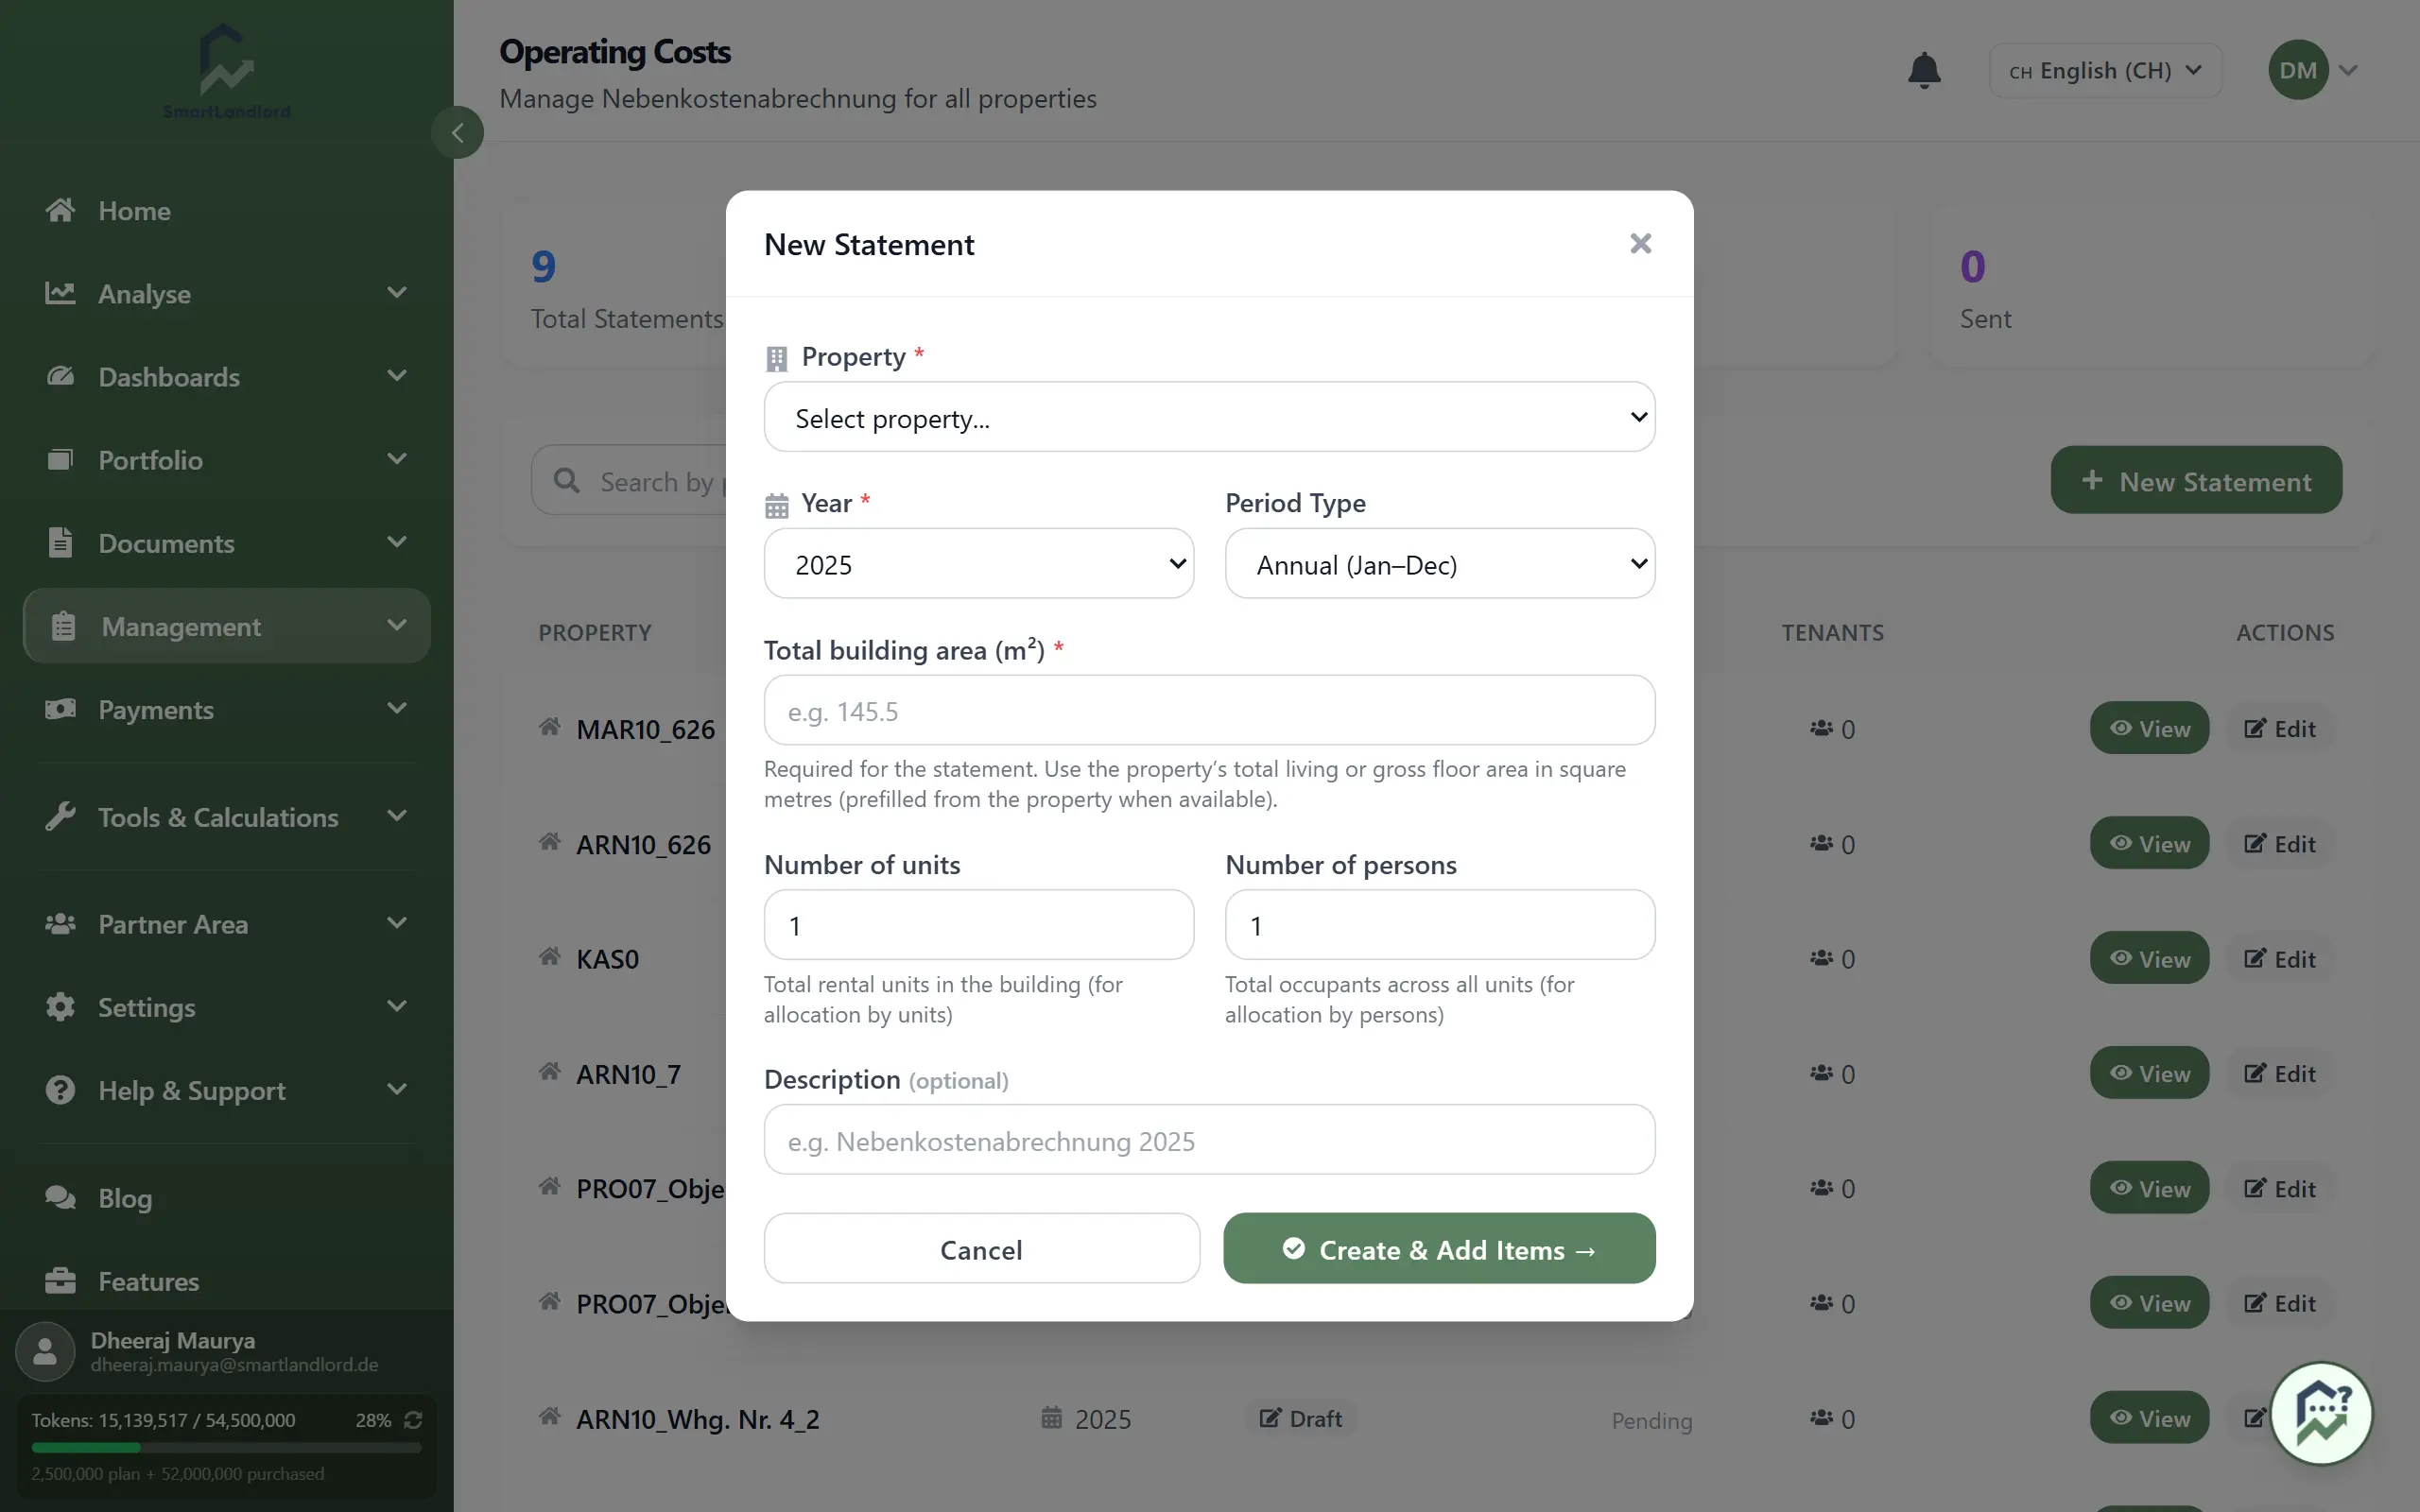
- Choose the Proprietà. Total area and number of units are taken from the property where stored.
- Choose the Anno and the Tipo di periodo: Annuale (gennaio-dicembre), H1 (gennaio-giugno) / H2 (luglio-dicembre) or 1° trimestre (gennaio-marzo) to 4° trimestre (ottobre-dicembre).
- Enter the Superficie totale dell’edificio (m²) (required, in m²). Optional: Numero di unità, Numero di persone and a Descrizione.
- Click Creare e aggiungere elementi →.
The statement is created as a Bozza and you land directly on the cost items. If the end of the chosen period is in the future, the form warns that costs may still be incomplete.
The total area feeds the allocation keys. If it is wrong, the tenants' shares are wrong too.
2. Enter cost items
At the top of the page you see property, period and area figures. Impostazione del rendiconto lets you change period, area, units, persons and description while the statement is a draft.
Click Aggiungi articolo and choose for each item:
- the cost type, for example Riscaldamento, Imposta sugli immobili, Assicurazione or Custode,
- the amount,
- the Metodo di assegnazione: Quota uguale per unità abitativa, In base alla superficie (m²), In base al numero di persone, Importo fisso per inquilino or In base ai consumi / letture.
The form stays open after adding so you can enter the next item. With Sincronizza da spese you take matching expenses already recorded for this property over as items; the app reports how many items were created or updated.
For In base ai consumi / letture, the consumption values are missing unless meter readings are recorded. The app then splits such items by living area.
Calcolo dell'allocazione → at the bottom of the page saves the items and opens the calculation.
New, changed and deleted items are only saved with Calcolo dell'allocazione → (except the import from expenses). If you leave the page before, they are lost. For each item, choose the key that matches your agreement with the tenants.
3. Calculate
On the calculation page, click Calcolare. The app works out each tenant's share of the costs, subtracts the prepayments and shows in the overview (Panoramica sull'assegnazione degli inquilini) per tenant the share, prepayment and balance: refund or additional payment. The totals are above. Visualizza opens a tenant's statement.
On the statement page, Calcolare leads, after a confirmation, to the same calculation page. If items change, recalculate with Ricalcola. While the statement is a draft it stays editable.
Typical messages:
- Nessuna ripartizione locatari ancora (no tenancy in the period): create a tenant for this property right there with Aggiungi inquilino, or adjust the period under Edit.
- Alcuni inquilini sono stati esclusi: tenants without a lease start lack the basis. Add the lease start (the link in the message opens the tenant) and recalculate.
4. Finalize and send
- Click Confermare e finalizzare on the calculation page, or Finalizzare on the statement page, and confirm. On the calculation page the button is only active after a calculation. The statement then has the status Finalizzato and is locked for editing. Viewing and sending remain possible.
- On the statement page, Inviare agli inquilini emails each tenant their statement as a PDF. The app then lists who it was sent to, who has no email address (you print those statements yourself) and who had already received it. Another click only sends to the tenants still open; Invia di nuovo a tutti sends it to everyone again.
- Download an individual tenant's PDF on that tenant's statement page with Scaricare PDF.
There is no PDF of the whole statement, only one per tenant.
After finalizing, the statement can no longer be changed. Check the overview first.
A tenant's statement
On the statement page, the tab Rendiconti degli inquilini lists all tenants with share, prepayments and balance; a click opens the individual statement. The tab Voci di costo lists the items with key and share of the total costs. For drafts you can delete items there or add more with Aggiungi voce di costo.
The individual statement shows for each cost type the total costs, La vostra quota, Fattore tempo and Il vostro importo, then the total, the prepayments made and the result as Credito all'inquilino or Pagamento supplementare dovuto.
Status
- Bozza – created and editable.
- Finalizzato – finalized and locked.
- Inviato – sent to the tenants.